Letterbox Installation
Installation Details for a Standard Letterbox
Step 1 - Dig a Hole
Dig a hole approximately 200mm in diameter x 300mm deep.
Step 2 - Add Concrete Mix and Set Post
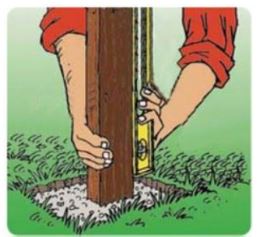
Add approx 100mm of Pre Mix or Post Mix Concrete (Dry) in the hole and set the mailbox post on top of this. Then add the required amount of water and fill the remainder of the hole with the concrete mix. Please ensure that the mailbox is level and then pack the concrete tightly around this to hold it stable.
Do not move or unsettle the mailbox while the concrete is curing.
Do not use Rapid Set as it is not recommended to be used with aluminium product.
Installation Details for Premium Series Synthetic Pier Mailboxes (Moderna & Vectra)
1. Level the ground where the letterbox is to be positioned and ensure this area is approximately 100mm larger than the
bottom of the letterbox and to a depth of 80mm.
2. Mix cement bags following the manufacturer’s instructions (wet slurry). Place the concrete into the hole and spread out
over the hole to form a pad.
3. Place the mailbox in position and push down ensuring that the cement slurry runs into and completely covers the holes at the base of the pier (vibrate/move the mailboxes sideways to drive it down).
4. Align your level to the front and side of letterbox to ascertain that it is squared and level.
5. When you have confirmed that the letterbox is level, proceed to trowel the cement neatly around the box raising the
concrete up about 50mm onto the side of the box. This will securely fix the mailbox in place and provide a
mower/whipper snipper edge.
6. After trowelling, check the level again and then replace the soil/bark (if applicable) around the base of the letterbox.
FITTING NUMBERS
If you are fitting numerals, other than those fitted by us you can use wood screws and adhesive. Make sure you follow the manufacturer’s instructions for their type of adhesive.
PAINTING PROCEDURE (important)
This product, once installed, is required to be painted by the end user. This can be done with any type of outdoor acrylic paint.
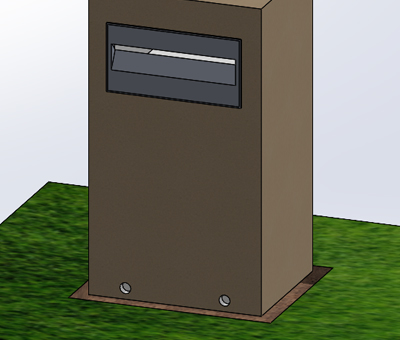
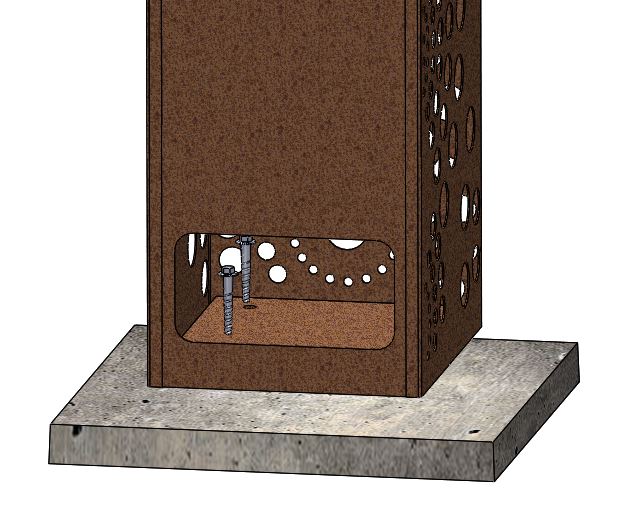
For other types mount using concrete anchors (Dyna Bolts, Concretes Screws or Supplied Hardware) onto slabs. You can buy precast concrete slabs/pavers at your local hardware which could be implemented.
Installation Details for a Fence Box
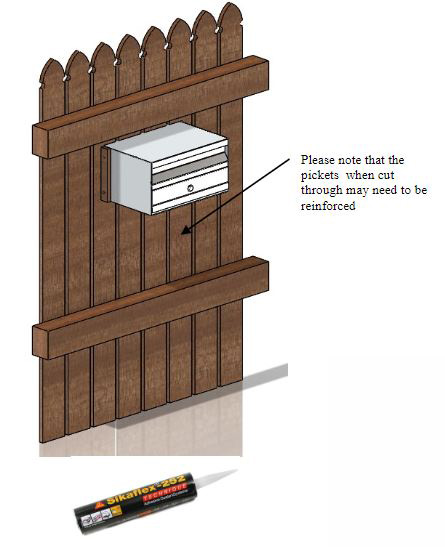
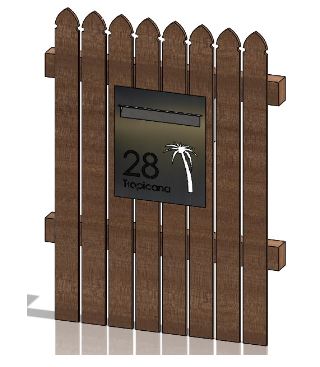
Many various methods are used when fitting mailboxes into fences, primarily because there are many varying fence designs such as, Timber Picket, Lattice, Pool Fencing, Colourbond and many more. Henceforth it is left to the installer to come up with the best installation method used in retaining their mailbox is securely in place. With over 25 years of selling fence boxes we very seldom get posed the question, “how do you install them” and we have seen many creative solutions however our recommendation is based on the principle as follows;
1. Neatly cut a suitable sized hole to accept the mailbox body size.
2. If possible, use a suitable construction adhesive (Sikaflex 252) behind the overhanging face and wall/fence. In some cases, this represents adequate installation, if not move to next step.
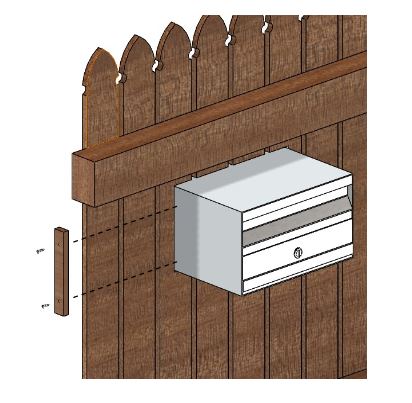
3. Using offcut pieces from your fence palings which have been cut to a suitable size (or alternatively use angle brackets, available from hardware store), use these to “sandwich” the fence between the face plate and these sections, fixing them to the side of the box using suitable screws.
Please do not detract from the finish of the faceplate by drilling holes through it and using screws to install your mailbox.